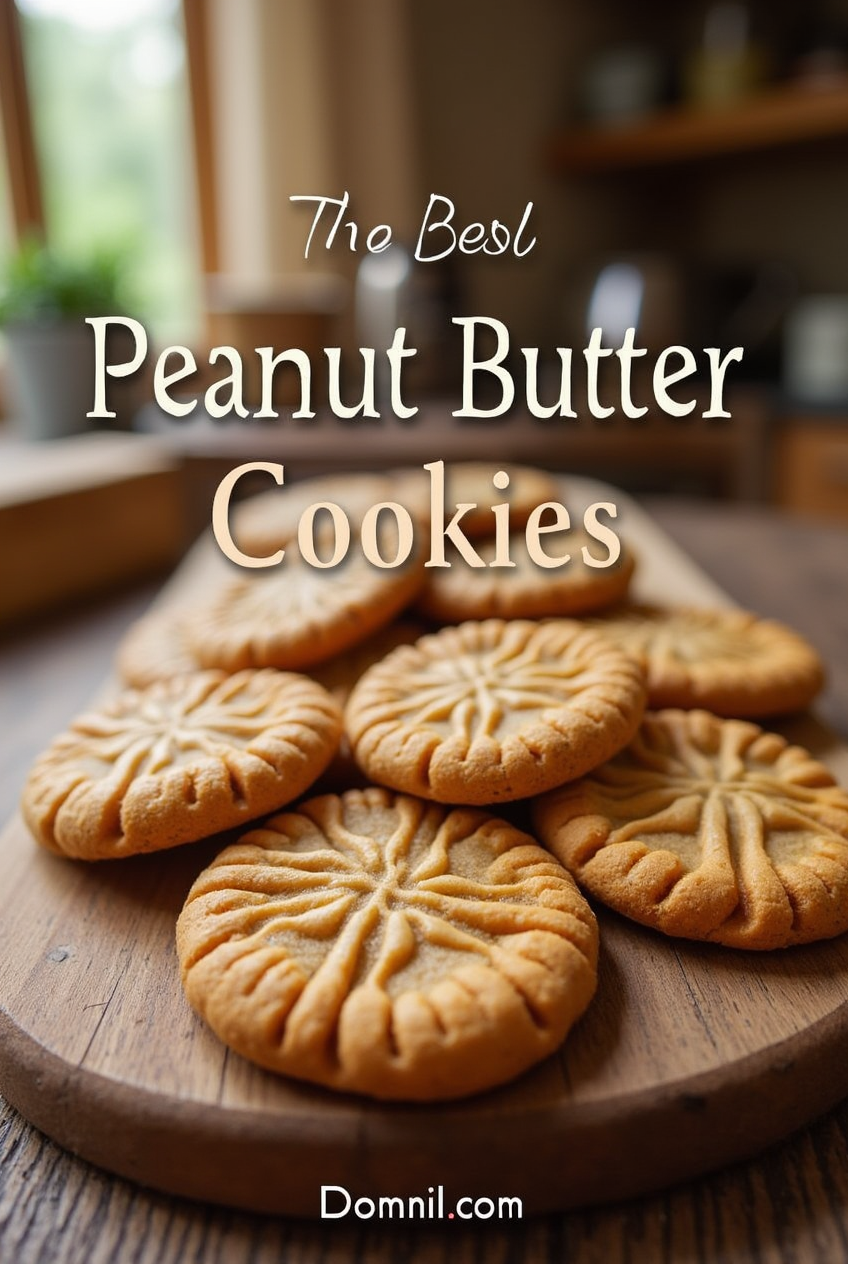
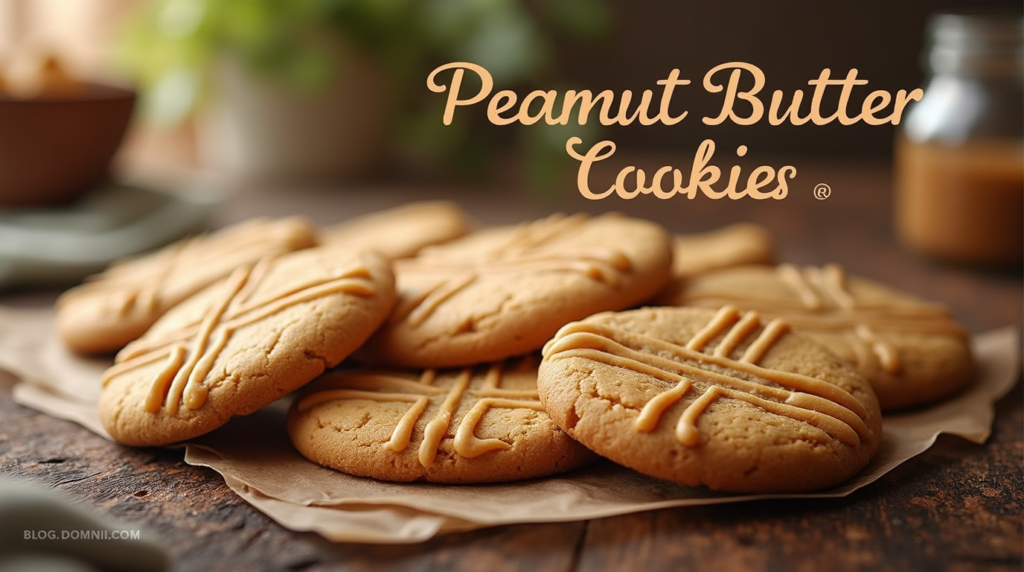
Peanut Butter Cookies: A Sweet and Nutty Delight
There’s something irresistible about the aroma of freshly baked peanut butter cookies wafting through the home—a scent that evokes childhood memories and promises a delicious treat ahead. These golden-brown discs with their distinctive crosshatch pattern have earned their place in the pantheon of classic American desserts, offering the perfect balance of sweet and salty flavors.

A Brief History of the Beloved Classic
Peanut butter cookies as we know them today began to appear in American cookbooks in the early 1900s, shortly after the commercialization of peanut butter. The iconic crisscross pattern—made by pressing a fork into the dough before baking—became a signature of these cookies in the 1930s. This practical technique not only creates their distinctive appearance but helps these dense cookies bake more evenly.
The Perfect Peanut Butter Cookie Recipe
Ingredients:
- 1 cup (250g) creamy peanut butter
- ½ cup (115g) unsalted butter, softened
- ½ cup (100g) granulated sugar
- ½ cup (100g) packed brown sugar
- 1 large egg
- 1 teaspoon vanilla extract
- 1¼ cups (150g) all-purpose flour
- ¾ teaspoon baking soda
- ½ teaspoon baking powder
- ¼ teaspoon salt
Method:
- Prep: Preheat your oven to 350°F (175°C) and line baking sheets with parchment paper.
- Cream: In a large bowl, cream together the peanut butter, butter, and both sugars until light and fluffy, about 3 minutes.
- Incorporate: Beat in the egg and vanilla extract until well combined.
- Combine Dry Ingredients: In a separate bowl, whisk together the flour, baking soda, baking powder, and salt.
- Mix: Gradually add the dry ingredients to the wet mixture, mixing just until incorporated.
- Shape: Roll the dough into 1½-inch balls and place on the prepared baking sheets, leaving about 2 inches between each cookie.
- Crosshatch: Using a fork, create the signature crisscross pattern by gently pressing down on each dough ball twice.
- Bake: Bake for 10-12 minutes, until the edges are golden but the centers still appear slightly soft.
- Cool: Allow cookies to cool on the baking sheet for 5 minutes before transferring to a wire rack to cool completely.
Secrets to Success
Choosing the Right Peanut Butter
The type of peanut butter you select will significantly impact your cookies’ texture and flavor:
- Commercial brands like Jif or Skippy produce reliable, consistent results with their stabilized consistency.
- Natural peanut butter creates a more intense peanut flavor but may require recipe adjustments due to its oilier nature.
- Crunchy vs. smooth is a personal preference—smooth creates a uniform texture, while crunchy adds delightful peanut pieces throughout.
Achieving the Perfect Texture
The eternal debate: should peanut butter cookies be chewy or crispy? Here’s how to achieve your preferred texture:
- For chewier cookies: Use more brown sugar, slightly underbake, and make thicker cookies.
- For crispier cookies: Use more white sugar, bake a minute or two longer, and shape thinner cookies.
Storage Tips
- Store in an airtight container at room temperature for up to 5 days.
- For longer storage, freeze baked cookies for up to 3 months.
- Cookie dough can be refrigerated for 3 days or frozen for up to 3 months.
Creative Variations
Mix-Ins and Add-Ons
Take your peanut butter cookies to the next level with these delicious additions:
- Chocolate chips or chunks
- Peanut butter chips
- Chopped roasted peanuts
- M&Ms or Reese’s Pieces
- Drizzled melted chocolate
- Sea salt sprinkle before baking
Sandwich Cookies
Transform simple cookies into decadent sandwich treats by spreading a filling between two cookies:
- Classic: Peanut butter frosting
- Indulgent: Chocolate ganache
- Unexpected: Banana buttercream
- Nostalgic: Marshmallow fluff
Dietary Adaptations
These cookies can be adapted for various dietary needs:
- Gluten-free: Substitute gluten-free flour blend (plus ¼ teaspoon xanthan gum if not included)
- Vegan: Use plant-based butter and a flax egg (1 tablespoon ground flaxseed mixed with 3 tablespoons water)
- Lower sugar: Reduce sugar by up to ¼ and add a dash of cinnamon to enhance perceived sweetness
Troubleshooting Tips
Common Issues and Solutions
- Too crumbly: Add 1-2 tablespoons of milk to moisten the dough
- Too dry: Your flour measurement may be off; remember to spoon and level rather than scoop
- Spreading too much: Chill the dough for 30 minutes before baking
- Not enough peanut flavor: Add 2 tablespoons of peanut butter powder
The Perfect Pairing
These versatile cookies pair wonderfully with:
- A cold glass of milk (traditional and perfect)
- Hot chocolate with a marshmallow
- Coffee or espresso
- Vanilla ice cream for a simple yet satisfying dessert
- Late harvest dessert wines for an adult treat
Frequently Asked Questions
Can I use natural peanut butter in this recipe?
Yes, but expect some differences. Natural peanut butter tends to create a slightly oilier, more crumbly cookie. For best results, stir the natural peanut butter thoroughly before measuring, and consider adding an extra 2-3 tablespoons of flour to compensate for the extra oil.
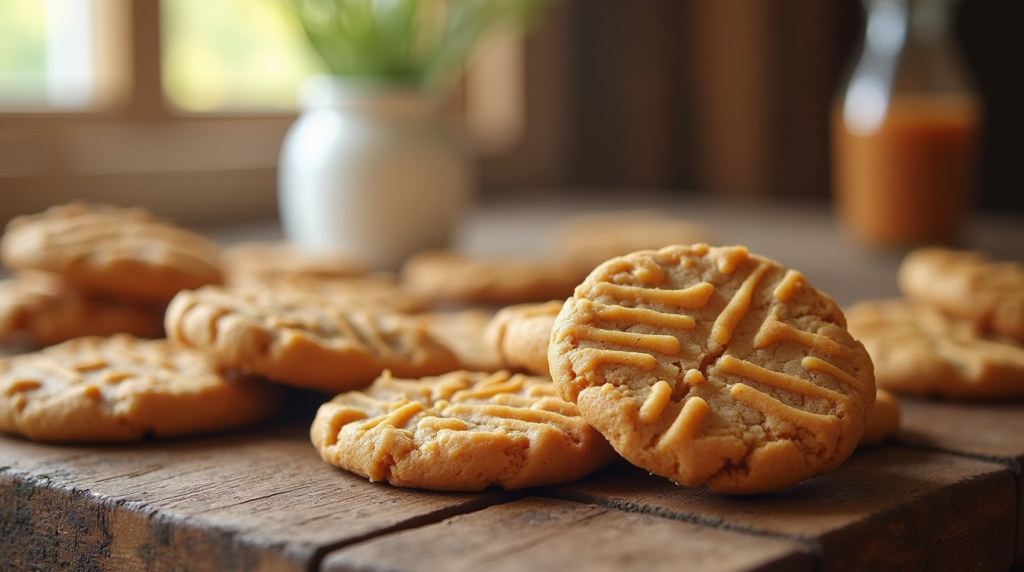
Why do I need to press a fork pattern into peanut butter cookies?
The fork marks serve two purposes: they create the signature look we all recognize, and more importantly, they help these dense cookies bake more evenly by flattening the dough. Without this step, the cookies might not cook through properly in the center.
Can I freeze the cookie dough?
Absolutely! Roll the dough into balls, place them on a baking sheet, and freeze until solid. Transfer to a freezer bag and store for up to 3 months. When ready to bake, place the frozen dough balls on your baking sheet, press with a fork, and add 1-2 minutes to the baking time.
My cookies turned out dry. What went wrong?
The most common causes for dry peanut butter cookies are overbaking or using too much flour. Remember that cookies continue to firm up as they cool, so remove them when the edges are set but centers still look slightly soft. For measuring flour, use the spoon-and-level method rather than scooping directly with your measuring cup.
Can I make these cookies without eggs?
Yes! You can replace the egg with a flax egg (1 tablespoon ground flaxseed mixed with 3 tablespoons water, let sit for 5 minutes), ¼ cup unsweetened applesauce, or ¼ cup mashed banana. Each substitute will alter the flavor and texture slightly.
How do I know when the cookies are done baking?
The perfect peanut butter cookie should have golden brown edges but may still look slightly soft in the center. Don’t wait until they look completely done—they’ll continue to firm up as they cool. Overbaking is the primary cause of dry, crumbly cookies.
Can I use chunky peanut butter instead of smooth?
Definitely! Chunky peanut butter will give your cookies additional texture and a more pronounced peanut presence. You may need to add an extra tablespoon of milk if the dough seems too dry.
Why did my cookies spread too much?
Several factors can cause excessive spreading: butter that’s too warm, not enough flour, or skipping the chilling step. For thicker cookies, chill your dough for at least 30 minutes before baking. Also, make sure your baking sheets are cool before placing dough on them.
Are these cookies gluten-free?
The standard recipe contains wheat flour, so it’s not gluten-free. However, you can substitute a 1:1 gluten-free flour blend with excellent results. Some brands work better than others, so look for one that contains xanthan gum for the best texture.
How can I make these cookies less sweet?
You can reduce the sugar by up to ¼ cup total without significantly affecting the texture. Adding a pinch of salt or a dash of cinnamon can enhance the flavor profile when reducing sugar. You might also consider using unsweetened peanut butter.
Conclusion
Peanut butter cookies, with their rich history and comforting flavor, remain a timeless favorite for good reason. Whether you prefer them soft and chewy or thin and crisp, studded with chocolate chips or enjoyed in their simple classic form, they offer a perfect bite of sweet and salty satisfaction. With this guide in hand, you’re well-equipped to bake a batch that will delight family and friends—or keep entirely for yourself. After all, some treats are too good to share!