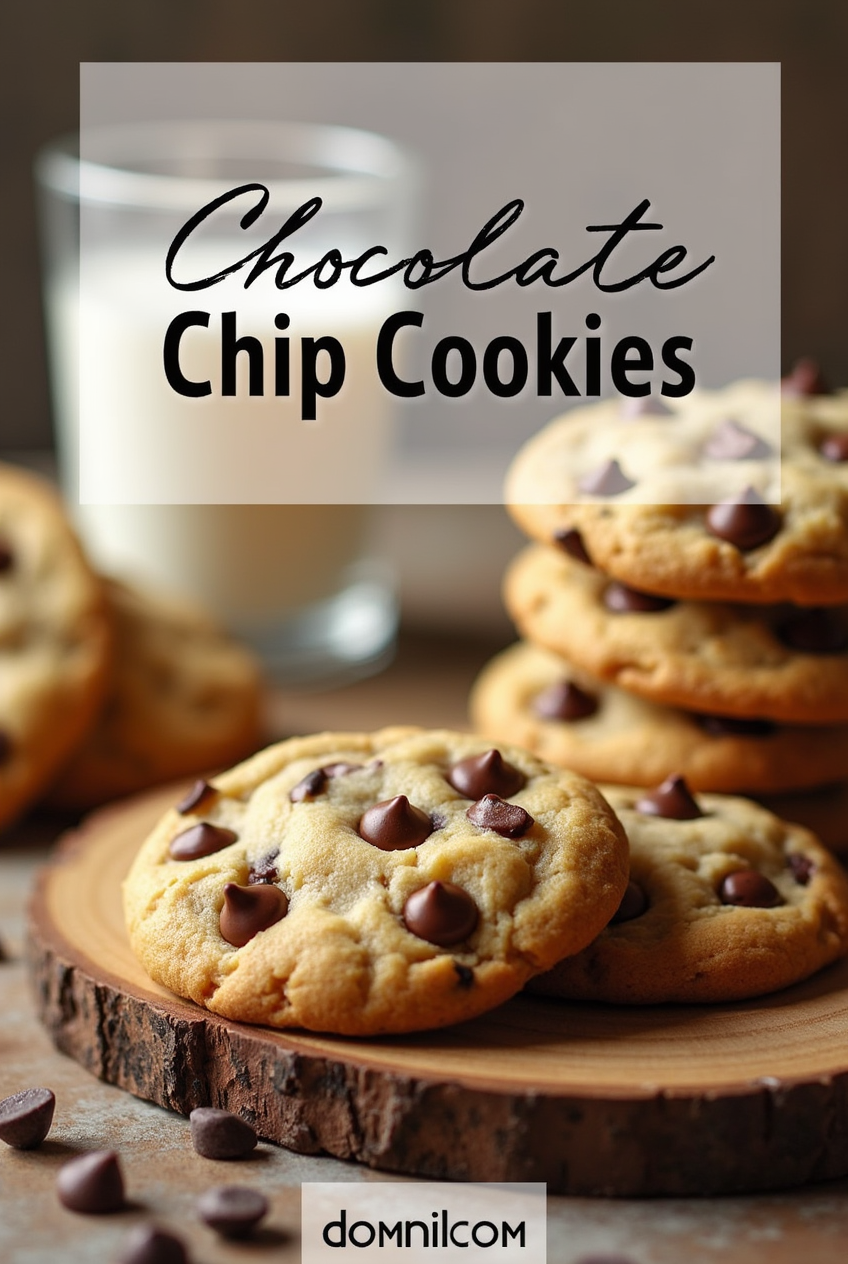
Chocolate Chip Cookies – The Ultimate Guide to Everyone’s Favorite Treat
Introduction to Chocolate Chip Cookies
A Brief History of Chocolate Chip Cookies
Ever wondered where the all-time favorite chocolate chip cookie came from? Believe it or not, it was born from a happy accident. Back in the 1930s, Ruth Wakefield, owner of the Toll House Inn in Massachusetts, was baking cookies when she decided to toss in chunks of semi-sweet chocolate from Nestlé, thinking they’d melt and create a chocolate cookie. Spoiler alert: they didn’t melt completely. Instead, she ended up with cookies dotted with melty, gooey pockets of chocolate—and the world has never looked back.
These cookies became an instant hit, especially with soldiers during WWII who received them in care packages. They spread like wildfire across the country when those soldiers came back home raving about them. Eventually, Nestlé made a deal with Wakefield to print her recipe on their chocolate bar packaging, and in return, she received a lifetime supply of chocolate. Smart lady, right?
Today, chocolate chip cookies are a staple in every American home and a global icon. From school lunches to midnight snacks, these golden-brown goodies have secured their spot in the hall of fame of comfort foods.

Table of Contents
Why Chocolate Chip Cookies Are So Popular
So what is it that makes chocolate chip cookies the king of cookies? For one, it’s the perfect balance of flavors—sweet, buttery, and chocolatey all at once. The contrast in textures is another win: a crispy edge that gives way to a soft, gooey center. It’s a cookie that satisfies almost every craving.
Then there’s nostalgia. Just the smell of freshly baked chocolate chip cookies can take you right back to childhood. Whether it’s baking with your grandma, getting them as a reward after school, or dunking them in milk late at night, there’s a deep emotional connection people have with these cookies.
On a more technical level, they’re versatile. You can customize them endlessly—chewy, crunchy, thin, thick, nutty, gluten-free, vegan—you name it. Plus, the ingredients are pantry staples, and the recipe is beginner-friendly. You don’t need to be a pro baker to whip up a batch, but you can always find ways to level up your cookie game if you are.
Essential Ingredients for Perfect Chocolate Chip Cookies
Flour, Sugar, and Butter – The Base Trio
Let’s talk about the holy trinity of chocolate chip cookies: flour, sugar, and butter. These three ingredients are the foundation, and getting them right is key to baking the perfect batch.
Flour provides the structure. Most recipes call for all-purpose flour, which has the right balance of protein to create a cookie that holds its shape but still stays tender. Too much flour? You’ll get dry, cakey cookies. Too little? Say hello to flat, greasy ones.
Sugar is where the science gets interesting. You typically use a mix of white granulated sugar and brown sugar. White sugar helps the cookies spread and gives you that crisp edge. Brown sugar (especially dark brown) adds moisture and chewiness, plus a hint of molasses flavor. The ratio you choose affects everything—want softer cookies? Use more brown sugar. Craving crunchy ones? Bump up the white sugar.
And then there’s butter, the heart and soul of flavor. Always go for unsalted butter so you can control the salt content yourself. Melting it vs. creaming it with sugar also makes a big difference. Melted butter usually leads to chewier cookies, while creamed butter gives you a fluffier texture.
Getting this base trio right is like building a solid foundation for a house. Once you nail it, you’re free to customize and experiment all you want.
The Role of Eggs and Vanilla Extract
Eggs are more than just a binding agent—they contribute to structure, moisture, and richness. A typical chocolate chip cookie recipe calls for one or two eggs. The egg white adds structure and helps the cookie rise a bit, while the yolk contributes fat and moisture, making your cookies softer and more flavorful.
Want chewier cookies? Add an extra yolk. Want a bit of crisp? Use one whole egg without the second yolk.
Vanilla extract, meanwhile, might seem like a minor ingredient, but it plays a massive role in flavor. A good-quality pure vanilla extract can elevate your cookies from decent to unforgettable. It adds a warm, aromatic note that enhances the sweetness and chocolatey depth. Don’t skimp here—imitation vanilla just doesn’t cut it if you’re after that rich, bakery-style taste.
Both eggs and vanilla are small components with big jobs. They help turn your mix of butter, sugar, and flour into cookies that are soft, flavorful, and packed with personality.
Tools and Equipment You’ll Need
Must-Have Kitchen Tools
You don’t need a professional kitchen to bake killer chocolate chip cookies, but a few essential tools can make a world of difference.
First up, a good set of mixing bowls is a must. You’ll need at least two—one for dry ingredients and one for wet.
Next, measuring cups and spoons are critical. Baking is science, and precision matters. Guessing won’t cut it here, especially with ingredients like flour, which can throw everything off if you overpack.
You’ll also need a sturdy hand mixer or stand mixer—though if you’re going old school, a wooden spoon and some elbow grease will work too. Just expect a workout.
A cookie sheet or baking tray is non-negotiable. Go for heavy-duty, non-stick aluminum if possible. It distributes heat evenly and helps avoid burned bottoms.
Lastly, parchment paper or silicone baking mats will save your cookies from sticking and make cleanup a breeze.
These basics are all you need to get started, and they’ll serve you well beyond cookie-making.
Nice-to-Have Tools for the Best Results
If you’re serious about your cookie craft, a few extra tools can take things to the next level.
Start with a cookie scoop. This nifty gadget ensures all your cookies are the same size, which means even baking and a more professional look.
A digital kitchen scale is another game-changer. Measuring by weight is way more accurate than using cups, especially for flour and sugar.
An oven thermometer might seem excessive, but trust me—most ovens run hot or cold, and even a 10-degree difference can mess with your cookies.
And finally, consider investing in a cooling rack. Letting your cookies cool properly off the baking sheet helps maintain texture and prevents sogginess from trapped steam.
These tools aren’t required, but if you find yourself baking often, they’re worth every penny for consistently amazing results
Step-by-Step Recipe for Classic Chocolate Chip Cookies
Preparing Your Dough Like a Pro
Alright, it’s go time—let’s make some magic happen. Cookie dough is where it all begins, and if you treat it right, the results will speak for themselves. Start by creaming your butter and sugars together until the mixture is light and fluffy. This step helps incorporate air into the dough, giving your cookies the right lift and texture.
Once that’s done, crack in your eggs one at a time. Beat them just enough to blend, but don’t overmix. Overbeating can make your cookies tough. Next comes the vanilla extract—one to two teaspoons, depending on how much flavor you want to punch through.
In a separate bowl, whisk your dry ingredients: flour, baking soda (or baking powder, depending on the recipe), and a pinch of salt. Slowly add the dry mix to your wet mixture. Don’t just dump it in all at once—do it in stages, mixing as you go. You want the dough to come together smoothly, not clump up into a floury mess.
Now for the best part—fold in the chocolate chips. You can use a spoon, spatula, or even your hands. The key is gentle mixing so you don’t crush the chips or overwork the dough.
Here’s a pro tip: chill your dough for at least 30 minutes to an hour. Chilling helps solidify the fat, which means your cookies won’t spread too fast in the oven. You’ll also get a deeper, more developed flavor. Some bakers chill dough overnight, and the difference is noticeable.
The dough should be firm, not sticky. If it’s too soft, add a bit more flour. If it’s too dry, a splash of milk can help. Once your dough is ready, it’s time to scoop it onto the baking tray and move on to the fun part—baking!
Tips for Baking the Cookies Just Right
Now that your dough is good to go, let’s bake these bad boys to perfection. Preheat your oven to 350°F (175°C)—a solid temperature for even baking. If you’ve chilled your dough, give it a few minutes at room temp before scooping it out.
Use a cookie scoop or tablespoon to portion the dough onto your parchment-lined baking sheet. Leave about two inches between each cookie to give them room to spread. If you want them to bake evenly, make sure each dough ball is about the same size.
Bake for 9–12 minutes, depending on your oven and the size of your cookies. Here’s where a little patience and observation come in handy. You want to pull them out when the edges are just starting to turn golden brown but the centers still look slightly underbaked. Trust me—this is where the magic happens. As they cool, the residual heat finishes baking them, resulting in soft, gooey centers with a perfect chewy bite.
If you like your cookies crispy, leave them in for an extra 2–3 minutes—but watch them closely. There’s a fine line between crispy and burnt.
When they’re done, let them rest on the tray for 5 minutes before transferring to a cooling rack. This helps them set without falling apart.
Want bakery-level cookies? Sprinkle a little flaky sea salt on top right after baking. It elevates the flavor and makes them pop.
Variations of the Classic Chocolate Chip Cookie
Chewy vs. Crunchy – How to Achieve the Texture You Want
Everyone has their favorite cookie texture—some like them gooey and chewy, others crave a satisfying crunch. The good news? You can control the outcome with a few smart tweaks.
For chewy cookies:
- Use more brown sugar than white. Brown sugar has more moisture and creates that soft, tender bite.
- Melt your butter before mixing. Melted butter spreads more, helping create a denser, chewier cookie.
- Add an extra egg yolk for richness and softness.
- Chill the dough for several hours or overnight. It allows the flour to hydrate fully and helps control spread during baking.
For crunchy cookies:
- Increase the ratio of white sugar. It makes cookies crisper as they bake.
- Use room temperature butter and cream it thoroughly with the sugar. This introduces air, helping cookies hold their shape and develop crispy edges.
- Bake a couple minutes longer, and use a lower oven rack for a bit more direct heat.
Experimenting with time, sugar types, and butter texture can completely change the cookie game. Find your ideal texture and run with it!
Adding Nuts, Oats, or Other Ingredients
Want to take your chocolate chip cookies from classic to custom? Go wild with mix-ins!
Nuts like walnuts, pecans, and almonds add crunch and a toasty flavor. Just chop them up and fold them into your dough with the chocolate chips. Don’t overload—stick to about 1 cup of mix-ins per batch to keep the cookie balance right.
Oats bring a rustic, hearty texture and pair beautifully with chocolate. Use old-fashioned rolled oats for best results—they hold their shape and don’t turn mushy. Combine oats with cinnamon and a touch of nutmeg for a warm, cozy cookie.
Feeling adventurous? Try adding:
- Toffee bits for extra sweetness and crunch.
- Dried cranberries or cherries for a tart twist.
- Peanut butter chips for a nutty, creamy layer.
- Even a swirl of Nutella or caramel in the dough for gooey surprises.
When experimenting, just be sure to adjust your dry ingredients slightly. Extra mix-ins can affect the dough’s moisture and texture, so you may need to tweak the flour or chill time accordingly.
Making Vegan and Gluten-Free Versions
Don’t let dietary restrictions keep you from the cookie jar—vegan and gluten-free chocolate chip cookies can be just as delicious as the originals.
For vegan cookies:
- Replace butter with plant-based margarine or coconut oil.
- Swap eggs with flaxseed meal (1 tbsp flax + 3 tbsp water = 1 egg) or chia seeds.
- Use dairy-free chocolate chips (many dark chocolates are already dairy-free, but check the label).
For gluten-free cookies:
- Use a gluten-free flour blend designed for baking. Look for one with xanthan gum for better structure.
- Almond flour can be a good alternative too, though it makes cookies more crumbly and dense.
- Double-check your mix-ins—some brands of chocolate chips and oats may contain traces of gluten.
With the right substitutions, you’ll be surprised how close the taste and texture can come to the original recipe. Plus, there’s something super satisfying about baking a cookie that everyone at the table can enjoy.
Troubleshooting Common Chocolate Chip Cookie Problems
Why Are My Cookies Flat or Too Puffy?
So you followed the recipe to the letter, but your cookies turned out like pancakes… or maybe like muffins. What gives? Let’s break down why cookies might not come out looking like the ones in the pictures.
Flat Cookies:
If your cookies are spreading too much and turning into crispy discs, a few culprits could be at play:
- Butter too soft or melted: If your butter is too warm when you mix it, the dough will be greasy and the cookies will spread out too much.
- Too little flour: It happens easily. Always measure your flour properly—spoon it into your measuring cup and level it off. Too little flour = not enough structure.
- Warm dough: Skipping the chill time means your fat melts too quickly in the oven. Cold dough = thicker cookies.
Too Puffy Cookies:
If your cookies aren’t spreading at all and resemble cake balls, here’s why:
- Too much flour: Again, measuring is key. Excess flour makes the dough dry and cakey.
- Baking soda mix-up: If you accidentally use baking powder instead of baking soda (or too much of either), you’ll get overly risen cookies with a dry texture.
- Overmixing the dough: This activates the gluten in the flour and makes your cookies dense and stiff.
The fix? Chill your dough, measure carefully, and don’t overwork the dough. Once you figure out your oven and ingredient ratios, your cookies will be consistently Instagram-worthy.
What to Do If They Burn or Don’t Spread Right
Burnt bottoms are the worst. You wait all that time, and then—charcoal crisps. Here’s what you need to know.
If your cookies burn:
- Check your oven temperature. Even a 25-degree difference can ruin a batch. An oven thermometer helps keep things honest.
- Use light-colored baking sheets. Dark trays absorb more heat and lead to quicker burning.
- Don’t grease the tray too heavily. Excess oil can fry the cookies on the bottom.
If they don’t spread:
- You might’ve used cold dough but a baking sheet that was also cold. Let your dough sit at room temperature for 5–10 minutes before baking.
- You could also add a tablespoon of milk to loosen the dough slightly next time.
A lot of baking comes down to trial and error. The good news? Even “mistakes” usually taste delicious. And once you nail it, you’ll know what to tweak for next time.
Storing and Freezing Your Cookies
How to Keep Cookies Fresh for Days
There’s nothing sadder than a cookie that’s lost its mojo. If you want your cookies to stay fresh, soft, and flavorful for days, here’s how to store them right.
Room Temperature Storage:
- Store cookies in an airtight container at room temp.
- Add a slice of bread to the container—no joke! It helps maintain moisture. The bread will go stale, not your cookies.
- Separate layers with wax or parchment paper if you’re stacking them.
Most cookies will stay soft and tasty for up to 5–7 days when stored this way.
Avoid the fridge—it can dry them out. Refrigeration isn’t your friend here unless you’re working with cream-filled or dairy-heavy cookies.
Freezing Dough vs. Freezing Baked Cookies
Want cookies on demand? Make your dough ahead of time and freeze it.
Freezing cookie dough:
- Scoop dough balls onto a tray and freeze until solid (a couple of hours).
- Transfer them to a freezer-safe bag or container.
- Label them with the date—frozen dough stays good for up to 3 months.
To bake from frozen, add an extra 2–3 minutes to the bake time. No need to thaw.
Freezing baked cookies:
- Let them cool completely.
- Wrap each cookie in plastic wrap and store them in an airtight container or freezer bag.
- Thaw at room temperature, or warm in the oven for a fresh-from-the-bakery feel.
Whether you’re meal prepping cookies (yes, that’s a thing) or saving a stash for a rainy day, freezing is your secret weapon.
Fun Facts and Trivia About Chocolate Chip Cookies
Record-Breaking Cookies and Fun Stats
Think chocolate chip cookies are just humble little treats? Think again. These cookies have made serious history—and even world records.
- The world’s largest chocolate chip cookie weighed over 40,000 pounds and measured 102 feet in diameter! It was baked in North Carolina in 2003.
- Americans eat over 7 billion chocolate chip cookies every year. That’s enough to give every person on Earth one cookie… and then some.
- The average homemade batch of cookies contains about 2,500 calories total—roughly 125 per cookie, depending on the size and ingredients.
The cookie has even landed in space! NASA astronauts have taken chocolate chip cookies on missions for a taste of home.
The Cookie’s Cultural Impact
The chocolate chip cookie isn’t just a dessert—it’s a pop culture icon. It’s been featured in movies, commercials, and even political campaigns (remember the “bake-off” between First Ladies?).
There’s even a National Chocolate Chip Cookie Day on August 4th, celebrated with discounts at bakeries and cookie chains across the country.
From sweet nostalgia to tasty innovation, the cookie has woven itself into the fabric of everyday life. Whether you’re dunking it in milk or grabbing one on the go, it’s more than just a treat—it’s a shared experience.
Essential Tools to Prepare Chocolate Chip Cookies
Making chocolate chip cookies from scratch doesn’t require a professional kitchen, but having the right tools can make the process smoother, faster, and way more enjoyable. Here’s a list of essential and helpful tools to have on hand before you dive into cookie heaven:
Must-Have Tools
- Mixing Bowls
- At least two: one for dry ingredients, one for wet.
- Opt for sturdy, non-slip bowls for ease of mixing.
- Measuring Cups and Spoons
- Precision matters in baking.
- Use separate sets for dry and wet ingredients for accuracy.
- Electric Mixer or Whisk
- A hand mixer or stand mixer makes creaming butter and sugar easier.
- You can also mix by hand, but it takes more effort.
- Baking Sheets (Cookie Trays)
- Choose light-colored, non-stick sheets for even baking.
- Dark trays can cause cookies to overbrown or burn on the bottom.
- Parchment Paper or Silicone Baking Mats
- Prevent sticking and make cleanup a breeze.
- Reusable silicone mats are eco-friendly and long-lasting.
Nice-to-Have Tools for Better Results
- Cookie Scoop
- Ensures uniform size and shape for even baking.
- Available in multiple sizes depending on your cookie style.
- Digital Kitchen Scale
- For perfect accuracy, especially with flour and sugar.
- Ideal for consistent results batch after batch.
- Cooling Rack
- Lets cookies cool evenly and prevents soggy bottoms.
- Essential if you’re baking multiple batches.
- Rubber Spatula or Dough Scraper
- Helps in folding ingredients without overmixing.
- Useful for scraping every last bit of dough from the bowl.
- Oven Thermometer
- Many ovens run hot or cold. This ensures precise temperature control.
- Crucial for evenly baked cookies every time.
Conclusion
Chocolate chip cookies are more than just a treat—they’re a universal comfort, a symbol of home, and a dessert with endless possibilities. From the humble beginnings at the Toll House Inn to becoming a global favorite, these cookies have stood the test of time for a reason. They’re simple to make, endlessly customizable, and universally loved by kids and adults alike.
Whether you’re team chewy or team crunchy, love them loaded with mix-ins or pure and classic, there’s a chocolate chip cookie for everyone. With the tips, tricks, and variations we’ve covered, you now have the know-how to bake the best cookies ever—whether it’s your first time or your hundredth batch.
So the next time you’re craving something sweet, skip the store-bought stuff. Whip up a fresh batch of chocolate chip cookies, share them with someone you love (or don’t, we won’t judge), and enjoy the little moments they bring. After all, sometimes the simplest things—like a warm, gooey cookie—can bring the biggest smiles.
FAQs
1. Can I make chocolate chip cookies without brown sugar?
Yes, you can substitute white sugar for brown sugar, but the texture and flavor will change. Brown sugar adds moisture and a rich, caramel-like flavor. If you’re out, try adding a tablespoon of molasses to white sugar as a quick fix.
2. How do I keep cookies soft after baking?
Store them in an airtight container with a slice of bread. The bread provides moisture and keeps the cookies soft longer. Make sure the cookies are fully cooled before sealing them up to avoid sogginess.
3. Can I use margarine instead of butter?
You can, but expect a different taste and texture. Butter gives cookies that rich flavor and chewy texture. Margarine contains more water, which can make your cookies spread more and become thinner.
4. Why refrigerate cookie dough?
Chilling the dough helps control spreading and intensifies flavor. The flour fully hydrates, and the butter solidifies, resulting in thicker, more flavorful cookies. Even a 30-minute chill can make a difference.
5. What’s the best chocolate for cookies?
Semi-sweet chocolate chips are the classic go-to, but you can use dark chocolate, milk chocolate, or even chopped chocolate bars for more intense pockets of melted goodness. Go for high-quality chocolate for the best taste and texture.