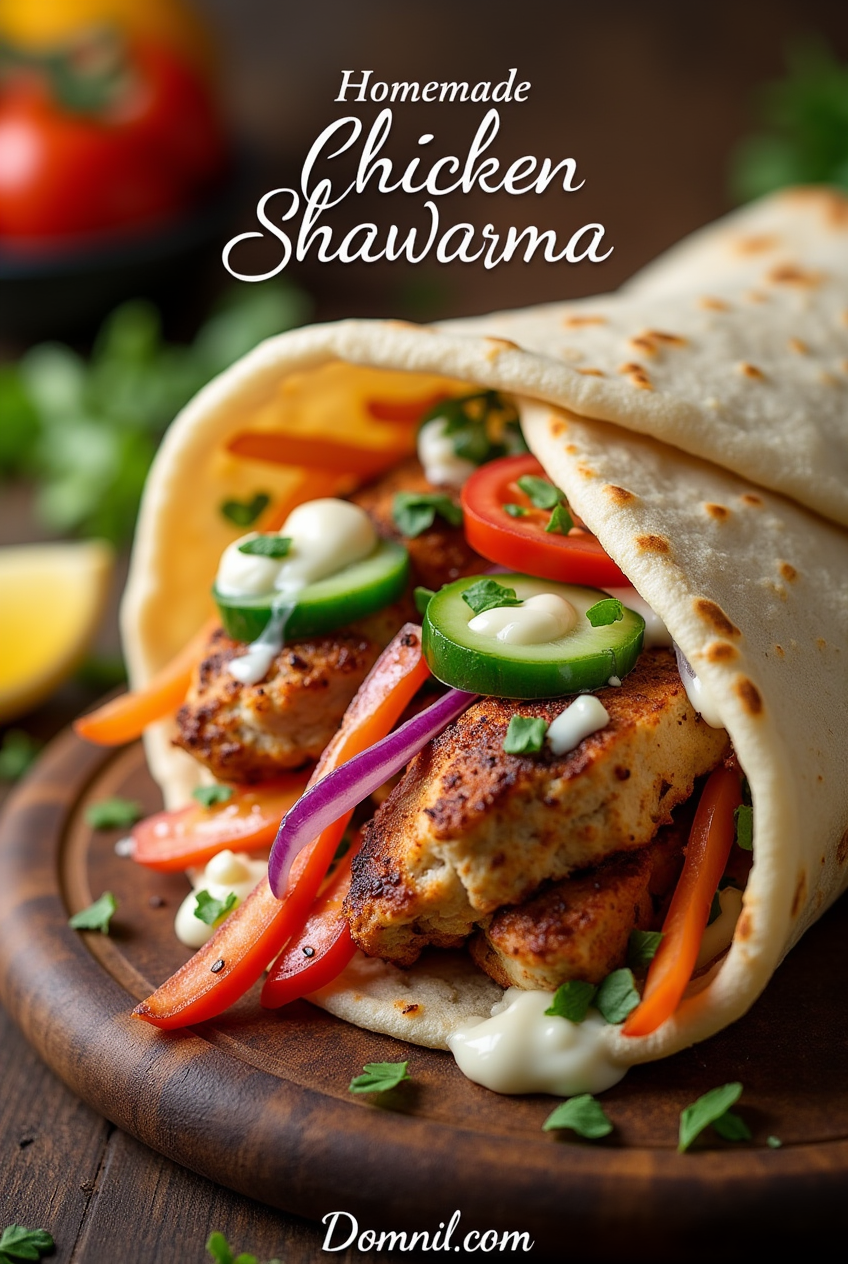
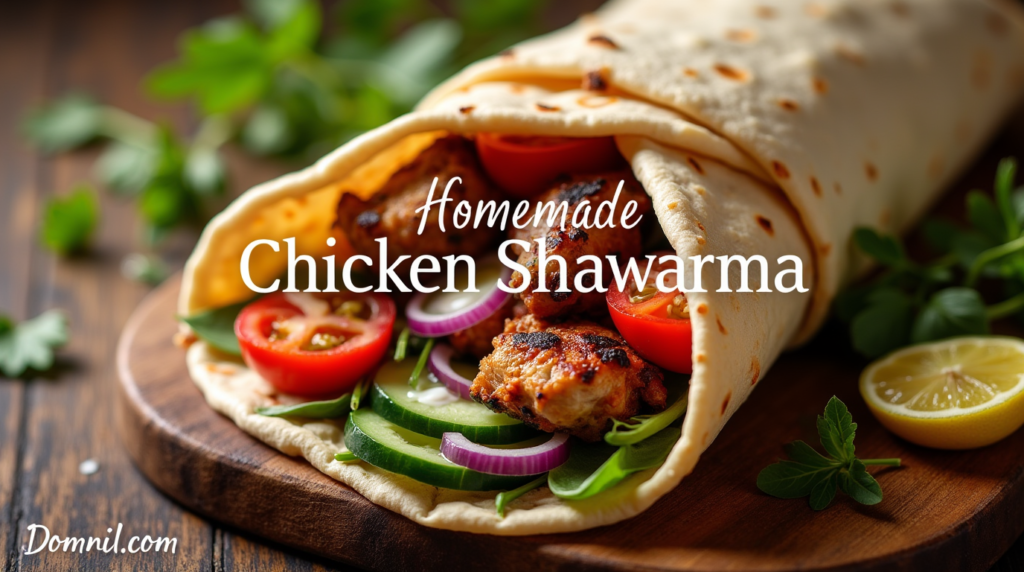
How to Make Delicious Homemade Chicken Shawarma
Introduction
Have you ever wondered how to bring the magic of street food shawarma into your own kitchen? That juicy, perfectly spiced chicken wrapped in warm pita bread with creamy sauce dripping down the sides? Many people think creating authentic chicken shawarma at home is too complicated or requires special equipment. But what if I told you that you could make mouth-watering shawarma right in your own kitchen with just a few simple steps?
What Makes Homemade Chicken Shawarma Special
Homemade chicken shawarma is special because you can control the flavors and ingredients to make it exactly how you like it. Unlike takeout shawarma, which might be overly salty or use ingredients you’re trying to avoid, your homemade version can be customized for your family’s taste preferences and dietary needs.
Time Required: About 1 hour active preparation, plus 2-24 hours for marinating Difficulty Level: Medium – anyone can make this, but it does require some planning ahead Worth It Factor: Extremely high! The flavors will blow you away!
Essential Ingredients
For the Chicken Marinade:
- Boneless chicken thighs – They stay juicier than chicken breast and have more flavor
- Yogurt – Helps tenderize the meat and adds creaminess
- Lemon juice – Adds brightness and helps tenderize the chicken
- Olive oil – Adds richness and helps carry flavor
- Garlic – For that unmistakable aromatic kick
- Spice blend – The heart and soul of shawarma!
The Shawarma Spice Mix:
- Cumin – Earthy and warm
- Coriander – Citrusy and light
- Paprika – Adds color and mild sweetness
- Turmeric – Gives that golden color and earthy flavor
- Cinnamon – Just a touch for warmth
- Cardamom – For fragrance and complexity
- Cayenne pepper – Adds heat (adjust to your preference)
- Salt and black pepper – To enhance all the flavors
For Serving:
- Pita bread – Try to find fresh, soft pita
- Garlic sauce (toum) – Creamy, garlicky goodness
- Tahini sauce – Nutty and rich
- Fresh vegetables – Tomatoes, cucumbers, pickles, and lettuce
- Pickled vegetables – For tang and crunch
- Fresh herbs – Parsley or mint add brightness
Substitutions:
- Chicken: You can use chicken breast if you prefer, but it may be a bit drier
- Yogurt: Greek yogurt works best, but regular plain yogurt is fine too
- Dairy-free option: Use coconut yogurt or just more lemon juice and olive oil
- Spices: Don’t worry if you’re missing one or two spices – the blend is forgiving!
Step-by-Step Instructions
Preparing the Marinade
- Mix your spices: In a small bowl, combine 2 teaspoons cumin, 2 teaspoons coriander, 1½ teaspoons paprika, ½ teaspoon turmeric, ¼ teaspoon cinnamon, ¼ teaspoon cardamom, ¼ teaspoon cayenne (or less if you prefer milder), 1 teaspoon salt, and ½ teaspoon black pepper.
- Create the marinade base: In a large bowl, mix ½ cup plain yogurt, 3 tablespoons olive oil, juice of 1 lemon, and 4 minced garlic cloves.
- Add the spice mix: Stir your spice blend into the yogurt mixture until well combined. Take a moment to smell it – isn’t that amazing?
- Prepare the chicken: Take 2 pounds of boneless, skinless chicken thighs and trim any excess fat. Some people like to cut the chicken before marinating, while others prefer to marinate whole pieces and slice later. Either way works!
- Coat the chicken: Add your chicken pieces to the marinade and make sure each piece is well-coated. Use your hands (with gloves if you prefer) to massage the marinade into the meat.
- Marinate: Cover the bowl with plastic wrap or transfer everything to a large zip-top bag. Place in the refrigerator for at least 2 hours, but ideally overnight. This waiting time is when the magic happens!
Cooking the Chicken
- Bring to room temperature: Take the chicken out of the refrigerator about 30 minutes before cooking to let it come closer to room temperature. This helps it cook more evenly.
- Choose your cooking method:Option A: Oven method
- Preheat your oven to 425°F (220°C).
- Line a baking sheet with foil or parchment paper.
- Spread the chicken pieces out in a single layer.
- Bake for 25-30 minutes, or until the chicken reaches an internal temperature of 165°F (74°C) and has nice crispy edges.
Option B: Stovetop method
- Heat a large skillet over medium-high heat.
- Add 1 tablespoon of olive oil.
- Cook the chicken in batches to avoid overcrowding, about 5-7 minutes per side until cooked through and slightly charred.
Option C: Grill method
- Preheat your grill to medium-high heat.
- Grill the chicken for about 5-7 minutes per side, until fully cooked with nice grill marks.
- Rest the chicken: Let the cooked chicken rest for 5-10 minutes before slicing. This keeps all those tasty juices inside!
- Slice thinly: Cut the chicken against the grain into thin slices, about ¼-inch thick. The thinner the slices, the more authentic your shawarma will taste!
Making the Sauces
Simple Garlic Sauce (Toum):
- In a food processor, blend 4 garlic cloves until minced.
- Add ½ cup mayonnaise, 2 tablespoons lemon juice, and a pinch of salt.
- Process until smooth and creamy.
- Refrigerate until ready to use.
Easy Tahini Sauce:
- Whisk together ½ cup tahini, ¼ cup water, 2 tablespoons lemon juice, 1 minced garlic clove, and ¼ teaspoon salt.
- Add more water if needed to reach your desired consistency.
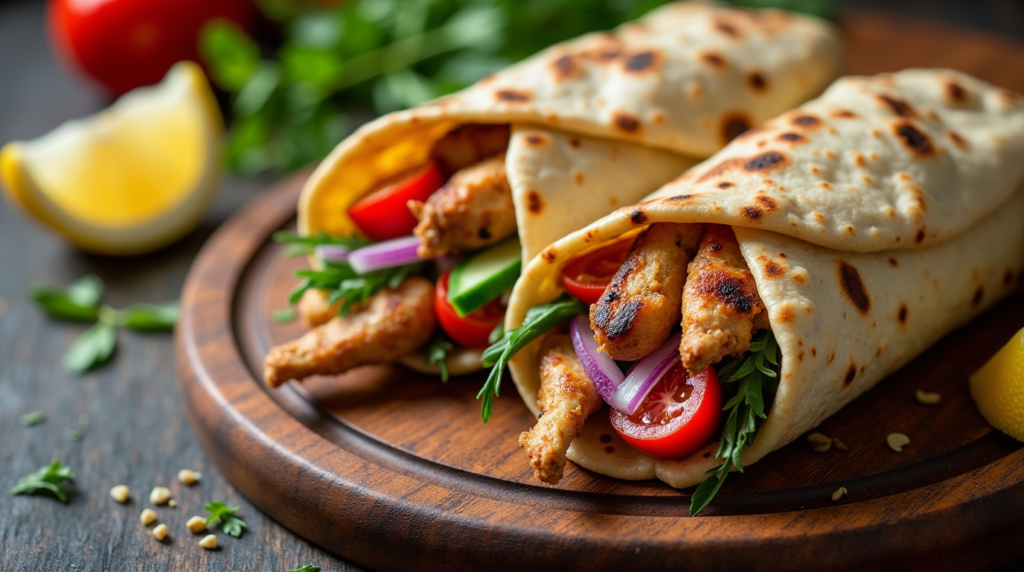
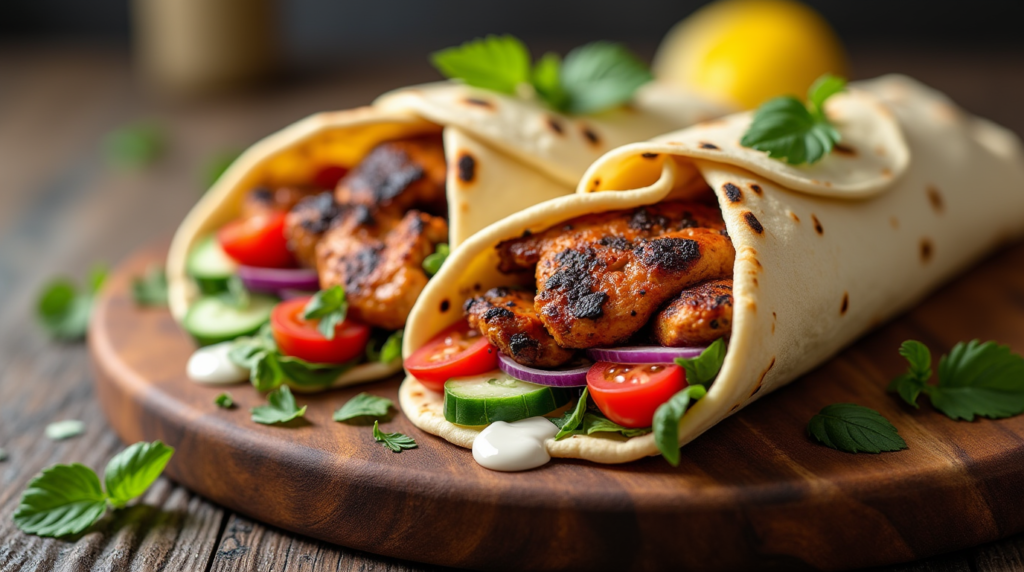
Assembly: Building Your Perfect Shawarma
Now comes the fun part – putting it all together!
- Warm your pita bread: Briefly heat your pita in a dry skillet, in the oven wrapped in foil, or in the microwave for 20 seconds. Warm pita is more flexible and tastes better!
- Layer your ingredients:
- Spread a generous amount of garlic sauce and/or tahini sauce on the pita.
- Add a layer of sliced chicken shawarma.
- Top with your favorite fresh vegetables like sliced tomatoes, cucumbers, pickles, and lettuce.
- Add pickled vegetables for extra tang if you like.
- Sprinkle with chopped fresh herbs like parsley or mint.
- Roll it up: Fold the bottom up first, then roll from one side, keeping it tight but not so tight that the fillings squeeze out.
- Optional wrapping: Wrap the bottom half in foil or parchment paper to make it easier to eat without drips!
Presentation Tips:
- Serve shawarma with extra sauce on the side for dipping.
- Create a shawarma platter with the components separated so everyone can build their own.
- Cut rolled shawarma in half on a diagonal to show off the beautiful layers inside.
- Garnish with a sprinkle of sumac or extra herbs for color and flavor.
Storage and Make-Ahead Tips
- Marinated uncooked chicken: Can be stored in the refrigerator for up to 24 hours before cooking.
- Cooked chicken: Keeps well in the refrigerator for 3-4 days in an airtight container.
- Reheating: The best way to reheat shawarma chicken is in a skillet over medium heat with a splash of water to keep it moist. You can also use a microwave, but the texture won’t be as good.
- Sauces: Both garlic sauce and tahini sauce can be made up to 5 days ahead and stored in the refrigerator in airtight containers.
- Prep-ahead strategy: On busy weeknights, you can have dinner ready in minutes if you’ve prepped components ahead:
- Marinate and cook chicken on the weekend
- Make sauces in advance
- Chop vegetables and store in containers
- Just reheat chicken and assemble when ready to eat!
Recipe Variations
Chicken Shawarma Bowl:
Skip the pita and serve your shawarma components over a bed of rice, couscous, or quinoa for a hearty bowl meal.
Shawarma-Spiced Roasted Vegetables:
Use the same spice blend on cauliflower, chickpeas, and sweet potatoes for a vegetarian option.
Shawarma Salad:
Top a large green salad with sliced shawarma chicken, crispy pita chips, and a lemon-tahini dressing.
Family-Style Shawarma Platter:
Arrange all components on a large platter with warm pita on the side – perfect for gatherings!
Breakfast Shawarma:
Use leftover chicken shawarma in breakfast wraps with scrambled eggs and cheese.
Conclusion
Making homemade chicken shawarma might seem like a lot of work at first, but once you try it, you’ll discover it’s actually quite simple – and the results are absolutely worth it! The beauty of making shawarma at home is that you can adjust the flavors to suit your taste and create new variations each time.
Don’t be afraid to experiment with different spice levels, vegetables, or serving styles. Whether you’re cooking for your family on a weeknight or impressing friends at a weekend gathering, homemade chicken shawarma is sure to become a favorite in your recipe collection.
So what are you waiting for? Gather your ingredients, prepare that aromatic marinade, and get ready to enjoy the delicious taste of homemade shawarma without leaving your kitchen!
Frequently Asked Questions
Can I make chicken shawarma with chicken breast instead of thighs?
Yes! Chicken breast will work, but it tends to be drier than thighs. If using breast meat, don’t marinate for more than 12 hours (the acid can make it mushy), and be careful not to overcook it.
Is shawarma healthy?
Homemade shawarma can be quite healthy! Chicken is a good source of lean protein, and you’re adding fresh vegetables and herbs. To make it even healthier, use whole grain pita, go easy on the sauces, and add extra vegetables.
Can I freeze marinated chicken shawarma?
Yes! You can freeze the chicken right in the marinade for up to 3 months. Thaw overnight in the refrigerator before cooking.
How do I get that authentic “rotisserie” flavor without a vertical spit?
The key is getting some charred edges on your chicken. After baking, you can put the chicken under the broiler for 2-3 minutes, or use a very hot cast iron pan to quickly sear the edges after slicing.
Can I make this recipe dairy-free?
Absolutely! Skip the yogurt in the marinade and use a bit more lemon juice and olive oil instead. The spices are the most important part for flavor.
What’s the difference between shawarma, gyro, and doner kebab?
While they all involve seasoned meat cooked on a vertical rotisserie, the main difference is in the seasonings. Shawarma (Middle Eastern) uses warm spices like cinnamon and cardamom, gyro (Greek) often includes oregano and marjoram, and doner kebab (Turkish) might use sumac and thyme.
My pita bread keeps breaking when I roll it. What am I doing wrong?
Make sure to warm your pita bread before filling – cold pita is more likely to crack. If your pita is particularly thin or dry, you can also briefly dampen it with water and then warm it to make it more pliable.