
Italian Rustic Bread: A Deep Dive into the Crusty Tradition
Introduction to Italian Rustic Bread
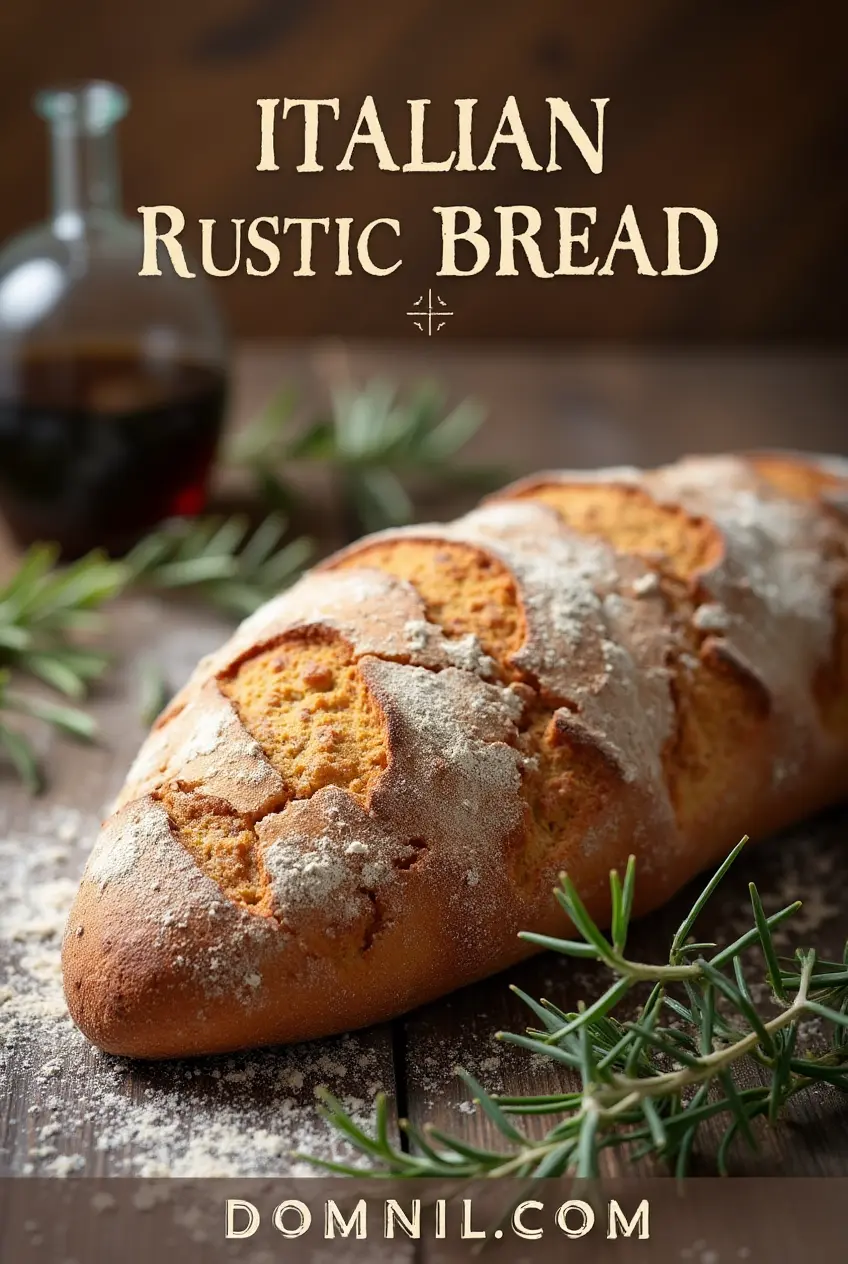
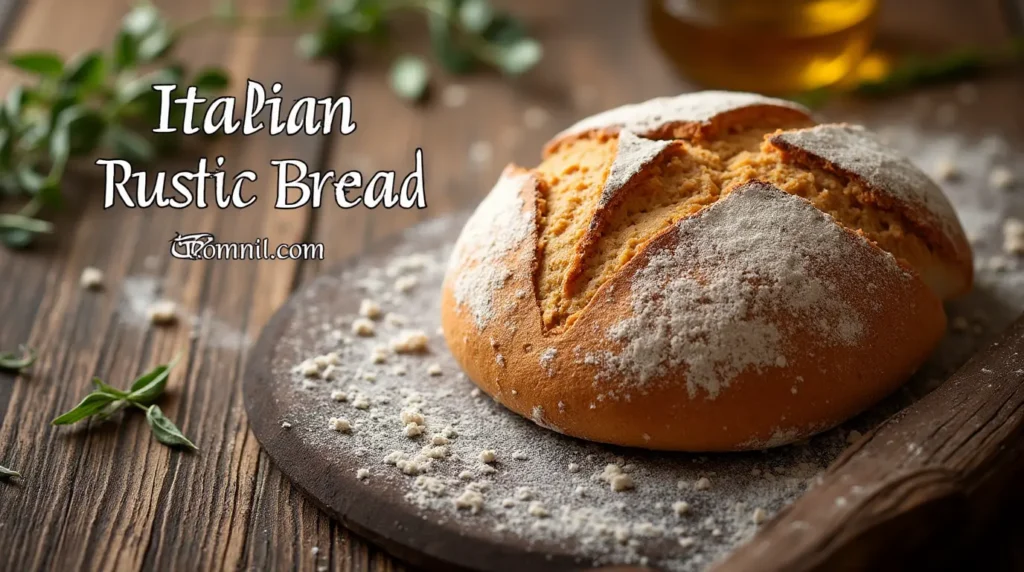
When you think of Italian cuisine, your mind might jump to pasta, pizza, and maybe a good glass of Chianti. But before all that comes to the table, there’s something humble yet essential—Italian rustic bread. This isn’t your average supermarket loaf. It’s old-world, artisanal, and full of soul. Italian rustic bread is all about the balance between a thick, crunchy crust and a soft, airy interior. It’s the kind of bread that feels hearty and homemade, like something passed down through generations. Made with just a few ingredients—flour, water, salt, and yeast—it proves that simplicity can be spectacular.
Unlike fluffy white sandwich loaves, rustic bread carries character in every crack and bubble. It’s shaped by hand, often without a pan, and baked in a way that encourages uneven edges and burnt blisters. The irregularity isn’t a flaw—it’s the point. Each loaf tells a story of tradition, patience, and craft.
Essential Ingredients for Perfect Rustic Bread
Flour – The Foundation of Flavor
Great bread begins with great flour. For rustic bread, high-protein wheat flour is a must. In Italy, type “00” flour is often reserved for pasta, while rustic breads prefer something heartier—like type “1” or even whole grain. These flours provide the strength needed to trap gases and build that airy, open structure.
Each region has its own favorite: Tuscan bakers might use locally milled white flour, while Pugliese versions incorporate semolina for a yellower hue and nutty bite. The flour isn’t just a base—it’s the bread’s soul. It affects how the dough behaves, how the crust develops, and how the flavor unfolds with each chew.
Water – The Life Source
Water may seem like a no-brainer ingredient, but its role is critical. It hydrates the flour, activates the gluten, and allows fermentation to take place. Rustic bread dough is typically high hydration—meaning more water relative to flour. This yields a wet, sticky dough that’s hard to handle but worth every messy moment.
Good bakers even consider the mineral content of water. In Italy, some swear by their regional water, claiming it gives the bread a distinct edge. Whether you’re using tap water or filtered, the key is to avoid extremes—no chlorine-heavy city water or overly soft sources. You want a mineral-balanced, neutral flavor base.
Yeast and Salt – The Magical Duo
Here’s where the magic happens. Yeast—whether commercial or wild—does the heavy lifting. It consumes sugars in the dough and releases carbon dioxide, creating those lovely bubbles and tang. In many traditional recipes, a sourdough starter is used for added complexity and digestibility.
Salt might seem like a minor player, but it’s vital. It strengthens gluten, balances flavor, and slows down fermentation just enough to allow flavor to develop. Without it, bread tastes flat. With it, everything comes to life.
The Science Behind Rustic Bread Fermentation
Importance of Slow Fermentation
Fermentation is where rustic bread becomes more than flour and water—it becomes art. The slower the fermentation, the more time yeast and bacteria have to break down starches, release gases, and produce flavor compounds. In short? Slower = tastier.
Most rustic breads undergo bulk fermentation (the first rise) for up to 12 hours. This not only improves flavor but also digestibility. Long fermentation allows natural enzymes to neutralize phytic acid in the flour, which can interfere with nutrient absorption.
Flavor Development Over Time
Ever noticed how sourdough tastes more complex than instant bread? That’s fermentation at work. As yeast breaks down sugars, lactic acid bacteria join in, creating acids that deepen flavor. This is what gives rustic bread that subtle tang, the whisper of sourness that makes every bite pop.
Think of fermentation like aging wine or cheese. It doesn’t just add time—it adds depth. And for rustic bread, that’s the difference between bland and unforgettable.
Step-by-Step Guide to Making Italian Rustic Bread
Preparing the Dough
Let’s break it down. Start with high-quality flour—preferably unbleached, high-protein—and weigh out about 500 grams. Add 350-400 ml of lukewarm water, 10 grams of salt, and a small amount of yeast (or a spoonful of sourdough starter). Mix gently with your hands or a wooden spoon. The dough should be shaggy and wet, not firm or dry.
This stage isn’t about perfection; it’s about bringing everything together. Let the dough sit (autolyse) for 30 minutes. This allows the flour to fully hydrate and the gluten to begin forming naturally without excessive kneading. After the autolyse, incorporate the salt and do a few rounds of gentle kneading or stretch-and-folds.
The First Rise
Place the dough in a lightly oiled bowl and cover it with a damp cloth or plastic wrap. This begins the bulk fermentation stage, which can last anywhere from 4 to 12 hours depending on your room temperature. You’ll want to perform 3–4 sets of stretch-and-folds every 30 minutes for the first 2 hours. This strengthens the gluten and builds structure without punching down the dough.
By the end of the rise, your dough should have doubled in size, be jiggly, and show bubbles on the surface. That’s the sign of good fermentation and a well-aerated dough.
Shaping the Loaf
Turn the dough out onto a floured surface. Be gentle—you don’t want to deflate all that lovely gas you’ve built up. Form the dough into a round (boule) or oval (batard), tucking the edges under to create surface tension. This tension helps the bread rise upward instead of outward during baking.
Transfer the shaped dough into a floured proofing basket seam-side up. Cover it again and let it rest for another 1–2 hours for the final proof. If you’re using a sourdough method, you can even refrigerate the loaf overnight at this stage for better flavor and easier scoring.
Final Proof and Scoring
Before baking, you’ll need to score the dough—cutting a few shallow slashes on the surface with a sharp blade or razor. These slashes control how the bread expands in the oven. Without scoring, the loaf may burst unevenly or crack in unpredictable ways.
This step is both practical and artistic. Traditional Italian loaves often have simple X or square patterns, but feel free to get creative.
Baking to Perfection
Preheat your oven to 475°F (245°C) with a baking stone or Dutch oven inside. Transfer your dough to the hot surface, add a bit of water to a tray at the bottom of the oven (for steam), and bake for 30–40 minutes.
The steam helps the crust develop its glossy finish, while the high heat creates that all-important oven spring. You’ll know the bread is done when it sounds hollow when tapped and the crust is deep golden brown.
Let the loaf cool completely before slicing. This allows the interior to set properly and prevents gumminess. Trust me—it’s worth the wait.

Tips for the Perfect Rustic Texture
Hydration Levels
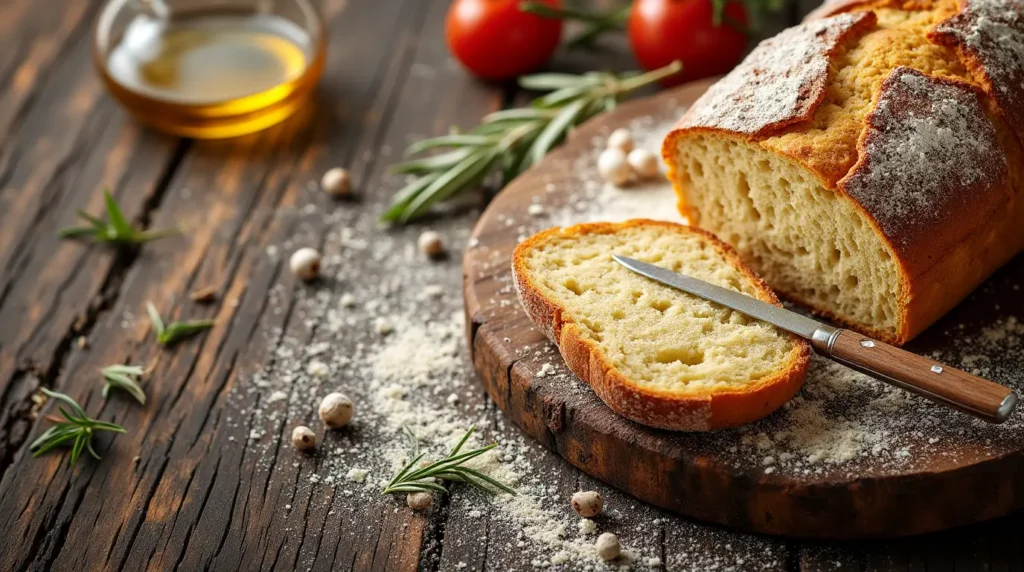
One of the most important secrets to mastering rustic bread is nailing the hydration. A high hydration dough (typically around 70–80%) is what gives you that beautiful open crumb with large, uneven holes. However, it’s also harder to handle, especially for beginners.
To manage this, resist the urge to add extra flour. Instead, learn to work with wet dough—use wet hands, a bench scraper, and embrace the stickiness. As you become more confident, you’ll notice how higher hydration transforms your bread from dense to divine.
The water doesn’t just help with structure—it also affects flavor and crust. More water means longer baking times, which contributes to that deep caramelization and complex taste.
Kneading vs Stretch and Fold
Traditional kneading develops gluten quickly, but it can be tough on fragile dough. For rustic bread, the gentler “stretch and fold” technique is ideal. This involves stretching one side of the dough and folding it over itself, then rotating and repeating. Done every 30 minutes during bulk fermentation, this technique strengthens the dough without deflating it.
This method also allows the dough to rest between movements, which helps the gluten align naturally and creates a more open crumb. It’s less labor-intensive and more intuitive—perfect for slow, mindful baking.
The result? A dough that’s strong yet tender, stretchy yet airy—just like the rustic breads made in Italian kitchens for generations.
Variations of Rustic Bread Across Italy
Pane Pugliese
Pane Pugliese, hailing from the southern region of Puglia, is one of the most celebrated variations of rustic Italian bread. It’s known for its incredibly open crumb, golden crust, and slightly chewy texture. What makes Pane Pugliese stand out is its use of durum wheat semolina flour, which gives the bread a rich, almost nutty flavor and yellowish hue. It’s often baked in large, round loaves and has a wonderfully blistered, crackly crust.
Traditionally, Pane Pugliese was baked in communal ovens, with each family marking their loaf to identify it later. It was built to last, often staying fresh for several days without losing its texture. Today, it’s often served with olive oil and sun-dried tomatoes or used as a base for bruschetta. This bread is more than just a side—it’s a key part of southern Italian cuisine.
Pane Toscano
Pane Toscano is a rustic loaf from Tuscany, and it comes with a surprising twist: it’s completely salt-free. Yes, you read that right. This ancient practice dates back to the Middle Ages when salt was highly taxed. To avoid the cost, Tuscans developed a bread that could pair perfectly with the region’s famously salty foods like prosciutto and pecorino.
The result is a mild, slightly sweet flavor and a spongy interior perfect for absorbing sauces. It’s often used in dishes like ribollita (a hearty bread soup) or panzanella (a bread-and-tomato salad). Though it might taste bland on its own, Pane Toscano comes alive when combined with bold flavors.
Pane Casereccio
Literally meaning “homemade bread,” Pane Casereccio is what many think of when they picture Italian rustic bread. It’s a general term used across Italy to refer to hand-shaped, slow-risen loaves made with natural ingredients and traditional techniques. This bread is adaptable, varying in texture and flavor depending on the region and baker.
Pane Casereccio is versatile, with a moderate crust and soft, airy interior. It’s the type of bread you can use for sandwiches, to sop up pasta sauces, or simply to enjoy with a smear of butter. It embodies the rustic charm and simplicity that makes Italian bread such a staple.
Conclusion
Italian rustic bread is more than a recipe—it’s a legacy. It tells the story of generations of bakers, of communal ovens and sun-drenched fields of wheat, of hands that kneaded not just dough, but culture and community. With its crackling crust, airy interior, and deep, developed flavor, this bread represents the heart of Italian culinary tradition.
From its humble beginnings in rural villages to its current place on gourmet menus, rustic bread has remained true to its roots. It’s a celebration of minimalism, proving that the simplest ingredients—when treated with care and time—can create something extraordinary.
So whether you’re baking your first loaf at home or biting into a fresh slice at a trattoria, remember: you’re not just eating bread. You’re tasting history, craft, and passion in every single bite.
FAQs
1. How long does Italian rustic bread last?
Italian rustic bread typically stays fresh for 2–3 days at room temperature when stored properly in a paper bag or wrapped in a cloth. After that, it’s best to freeze it to preserve texture and flavor.
2. Can I make it without a sourdough starter?
Absolutely. While sourdough adds complexity, you can make a fantastic rustic bread using instant or active dry yeast. Just allow for long fermentation to develop flavor.
3. What’s the best flour for rustic bread?
Use high-protein bread flour for strength and structure. For more authentic flavor, consider blending in some semolina or whole wheat flour depending on the regional variation you’re aiming for.
4. Why is my rustic bread not airy?
If your crumb is too tight, it may be due to under-proofing, over-kneading, or using low-hydration dough. Long fermentation and gentle stretch-and-fold techniques are key to an airy interior.
5. Can I use a regular oven?
Yes, a regular home oven works well. Use a preheated Dutch oven or baking stone to simulate the radiant heat of traditional wood-fired ovens for the best crust and rise.